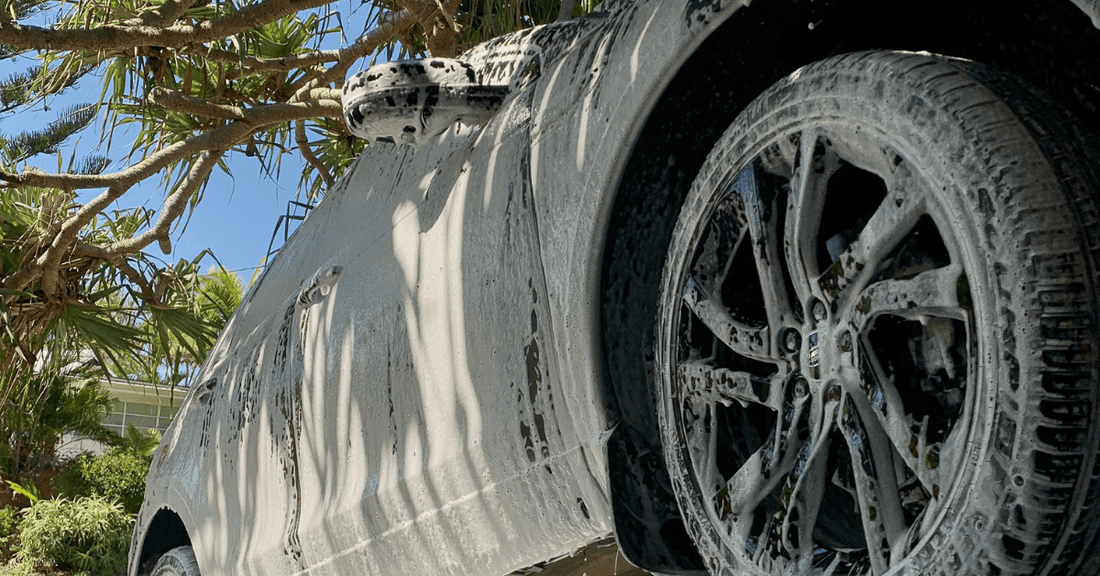
Step-by-Step: Clean Your Wheels Like a Pro
Share
Your car’s wheels take the brunt of everything the road throws at them — brake dust, mud, grime, tar, and more. Yet they’re often the most overlooked part in a DIY wash. Cleaning your wheels properly doesn't just make your car look great — it also protects your rims and improves overall maintenance. Here’s how to do it like a professional detailer.
Step 1: Start with Cool Wheels Before you begin, make sure your wheels are completely cool. Cleaning hot rims can cause cleaners to evaporate too quickly, leaving behind streaks or spots. It also risks damaging finishes or brake components.
Step 2: Rinse Thoroughly Use a hose or pressure washer to remove loose dirt and brake dust. Get into the wheel wells and behind the rims — this helps reduce the amount of scrubbing you’ll need later.
Step 3: Use a Wheel-Specific Cleaner Not all cleaners are created equal. Look for one that’s pH-balanced and safe for your type of wheels (alloy, chrome, matte, etc.). Spray generously and let it dwell for a minute to break down grime.
Step 4: Get the Right Tools This is where the Fox Tail really shines. Its long, flexible design lets you clean behind the spokes, around the lug nuts, and in between the tricky parts without scratching the surface. Pair it with a soft wheel face brush or detailing mitt for the outer parts of the rim.
Why not just use an old rag? We get it — grabbing an old rag is tempting. But rags don’t reach into the tight areas, they push dirt around instead of lifting it, and worse — they can scratch your wheels. Your rims deserve better than an old sock!
Step 5: Don’t Forget the Tyres Use a stiff brush and a tyre cleaner to scrub the rubber. This removes old tyre dressing, road oils, and dirt. Clean tyres help new dressing adhere better and last longer.
Step 6: Rinse & Dry Rinse everything thoroughly and dry with a clean microfiber towel or air blower. Drying prevents water spots and helps you spot any missed grime.
Step 7: Apply Protection Finish the job by applying a tyre dressing and, if you have one, a wheel sealant. Tyre dressings add that sleek finish, while sealants make it easier to clean wheels next time by repelling brake dust and grime.
Wrap-Up: A proper wheel clean brings out the real beauty of your car and protects your investment. With the right tools — like the flexible, rim-friendly Fox Tail — and a little technique, you'll have pro-level results in no time.
Check out the Fox Tail here and make wheel cleaning a breeze!
What Our Customers Say:
"Absolutely awesome product. I spend a lot of time detailing my motorcycle and found some places were impossible to get to. Well, not anymore! The Fox Tail gets into all the tight spaces and it's easy to move using the straps either end. Couldn't do without them now."
"Best investment for my detailing kit. My rims have never been cleaner — and I’m finally able to get behind the spokes without contorting myself!"
"Lightweight, flexible, and works like a charm. A must-have if you care about the details."
